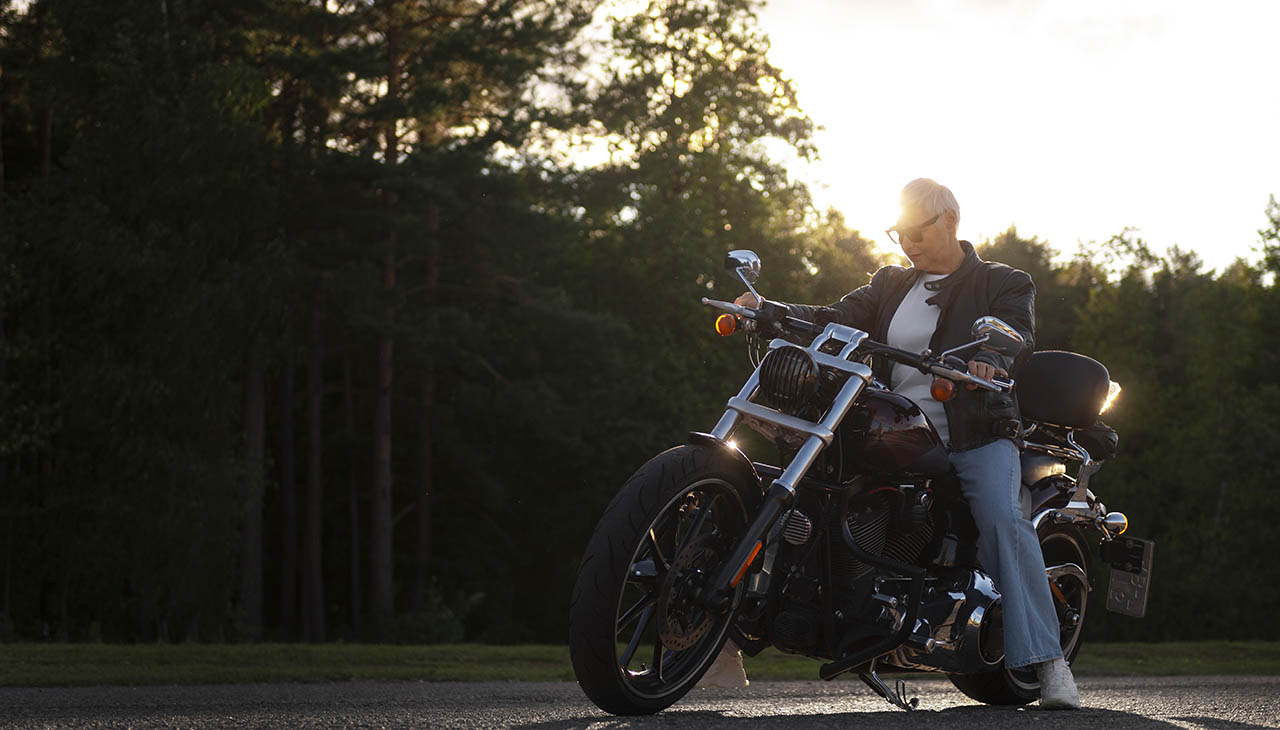
Welcome to the Ultimate Guide to Restoring Your Motorcycle. Whether you’re a seasoned mechanic or a newbie just getting your hands dirty, this guide is designed to walk you through the process of bringing your beloved two-wheeler back to its former glory. From dismantling and cleaning parts, to diagnosing problems and making necessary repairs, we’ll cover it all. Let’s dive in and start breathing new life into your motorcycle.
Pre-Restoration Preparation
Research and Planning
Choosing the Right Motorcycle to Restore
Selecting the right motorcycle is the first step on your restoration journey. Consider factors like the bike’s age, condition, rarity, and your personal interest. Remember, a common model in poor condition could be a more viable choice than a rare model in good shape due to the availability of parts.
Setting a Budget
Set a realistic budget before you start. This should cover the cost of the bike, spare parts, tools, and possibly professional help. Remember to include a buffer for unexpected costs.
Gathering the Necessary Tools and Equipment
It’s essential to have the right tools for the job. These may include a set of wrenches, screwdrivers, pliers, a motorcycle jack, and specialty tools for your specific model. Also, consider equipment for safety such as gloves and safety glasses.
Creating a Workspace
Designate a clean, well-lit, and ventilated workspace for your project. Ensure you have enough space to work comfortably and store parts. Organize your tools and parts to save time and avoid misplacing items.
Assessment and Disassembly
Evaluating the Condition of the Motorcycle
Before you start disassembling, it’s crucial to assess the current state of your motorcycle. Pay particular attention to the engine, brakes, electrical systems, and suspension. Look for signs of rust, damage, or excessive wear. This evaluation will help you identify the parts that need to be replaced or repaired and provide a rough idea of the restoration’s scope.
Documenting and Organizing Parts
As you disassemble the motorcycle, document each step. Take pictures or make videos to ensure you remember how everything fits back together. Tag and organize parts in labeled containers to keep track of what you’ve removed and prevent any from getting lost or damaged.
Properly Disassembling the Motorcycle
Removing Body Panels, Seats, and Accessories
Start with the removal of the body panels, seats, and accessories. Use the appropriate tools to avoid damaging these parts. Remember to carefully store the screws and bolts in a labeled container for easy reassembly.
Draining Fluids
Before you remove the engine or transmission, make sure to drain all the fluids. This includes engine oil, coolant, and brake fluid. Be sure to dispose of these fluids in an environmentally friendly manner.
Removing the Engine and Transmission
The engine and transmission should be removed last. It’s often a two-person job, given the weight of these parts. Use your motorcycle jack to help lift these components out of the frame safely. Be mindful of any cables or wires that may still be attached before you completely remove these parts.
Cleaning and Restoration
Cleaning and Degreasing the Frame and Components
Start your restoration process with a thorough cleaning of the motorcycle frame and all its components. Use a degreaser to remove stubborn grime and oil stains. A power washer can be used for larger parts, while smaller components may require a brush and soapy water. Make sure you dry everything properly to prevent rust.
Repairing or Replacing Damaged Parts
Inspect each part for damage. Minor problems like small dents or bent brackets can often be repaired, but seriously damaged or worn out parts will need to be replaced. This is especially important for safety-critical items like brake components. When sourcing replacement parts, make sure they are compatible with your specific motorcycle model.
Sanding, Painting, and Refinishing
Once all the parts are cleaned and repaired, you can move on to sanding, painting, and refinishing. Start by sanding down the frame and other parts to remove old paint and rust, and to ensure a smooth surface for new paint. After sanding, apply a primer, followed by your chosen color of paint. Once the paint is dry, apply a clearcoat for extra protection and shine. Remember, the quality of your finish greatly impacts the overall look of your restored motorcycle.
Rebuilding the Engine and Transmission
Rebuilding the engine and transmission can be one of the most complex parts of a motorcycle restoration. It’s essential to clean all the internal components and replace any worn parts. Rebuilding usually involves reassembling the engine and transmission with new gaskets, seals, and often new bearings. You may need to refer to a service manual specific to your bike model for this step.
Detailing and Polishing
The final step in the restoration process is detailing and polishing. This involves going over the entire bike, polishing the chrome parts, cleaning the upholstery, and ensuring all the details are just right. It’s the finishing touch that makes your restored motorcycle stand out.
Reassembly
Installing New or Restored Components
After cleaning, repairing, and refinishing, start the reassembly by installing the restored or new components. Begin with the larger components such as the engine and transmission, then gradually move to smaller ones. Ensure each part is fitted securely and in the correct order, referring back to your disassembly documentation as needed.
Lubricating and Adjusting Moving Parts
Once the components are installed, apply appropriate lubricants to the moving parts like the chain, gears, and cables. This is essential to ensure smooth operation and prevent premature wear. Additionally, make necessary adjustments to parts such as the brakes, clutch, and throttle to achieve optimal performance.
Reconnecting Wiring and Cables
Next, reconnect all wiring and cables to their corresponding components. Be careful to ensure correct routing and secure connections to avoid electrical issues. Your documentation from the disassembly stage will be invaluable here.
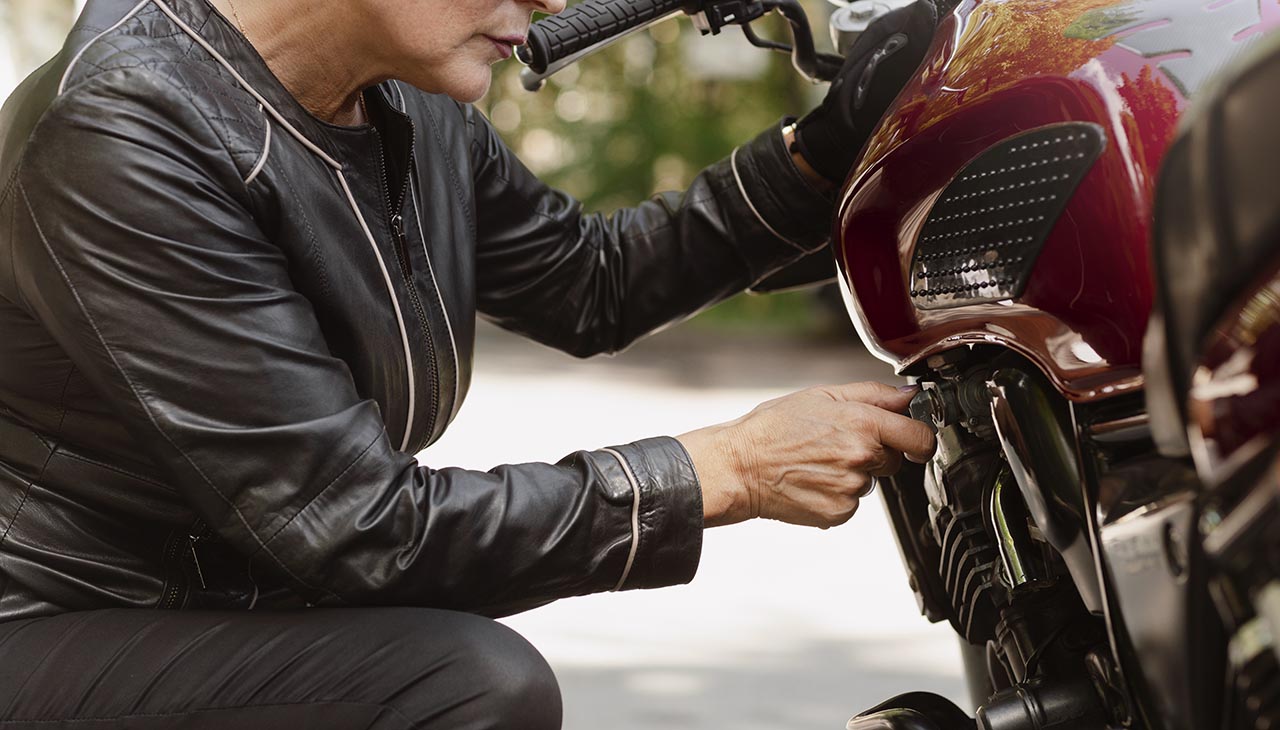
Test-Fitting Body Panels and Accessories
Finally, test fit the body panels and accessories onto the motorcycle frame. This gives you the opportunity to ensure proper alignment and prevent any possible fitting issues before final installation. After successful test fitting, securely install these parts, remembering to reconnect any lights or electrical accessories.