Auto body restoration is a meticulous process that demands patience, skill, and a keen eye for detail. Whether it’s a vintage classic or a modern marvel, every vehicle carries a story, and restoring its former glory is an opportunity to breathe life back into that narrative. This guide outlines five essential steps to make your auto body restoration project a success, from the initial assessment to the final polish.
Assess the Condition of the Vehicle
Begin your restoration journey with a thorough inspection of the vehicle. This should encompass both the vehicle’s exterior and its mechanical components. On the surface, look for signs of rust, dents, scratches, and any damage to the bodywork that may require attention during the restoration process. Don’t overlook smaller details such as the conditions of the window seals or the alignment of doors. Explore under the hood, assessing the condition of the engine, transmission, brakes, and other mechanical elements. This step will provide you with a comprehensive understanding of the project scope, setting a clear roadmap for the restoration work ahead.
Create a Restoration Plan
After gauging the condition of the vehicle, the next step is to create a detailed restoration plan. This strategic blueprint should contain clear goals and objectives for the project. Consider the desired level of restoration – whether you aim for a full restoration, bringing the vehicle back to its original, factory-fresh condition, or a partial restoration, focusing on certain aspects like the car’s exterior or engine. Once you’ve decided on the scope, establish a realistic budget, taking into account the cost of materials, labor, and any unexpected expenses that may arise. In addition to this, outline a practical timeline for the project, setting milestones for each phase of the restoration to help track progress and maintain motivation. Remember, auto restoration is a marathon, not a sprint – patience and persistence are key.
Disassemble and Document
The third step in the restoration process involves the careful disassembly of the vehicle. This should be done in a meticulous manner, ensuring each part is documented and labeled correctly. As you remove components, take photographs and make detailed notes of their original placement and connections. This visual and written record will prove invaluable when the time comes for reassembly, helping you to avoid confusion and mistakes. Furthermore, label all parts clearly and store them in an organized manner. Small parts can be housed in labeled bags or containers, while larger components should be stored safely out of the way. Remember, the goal is not just to take the vehicle apart, but to do so in a way that preserves the integrity of each piece and enables an efficient, accurate restoration.
Repair and Restore
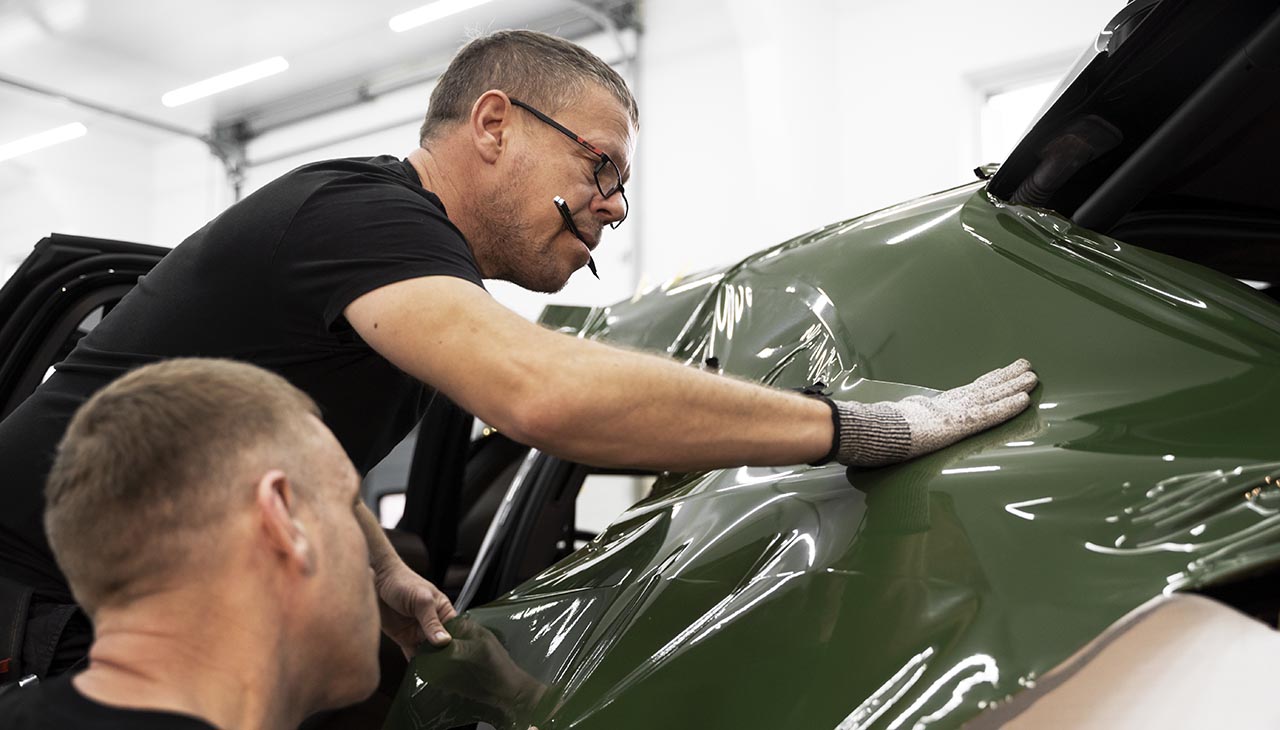
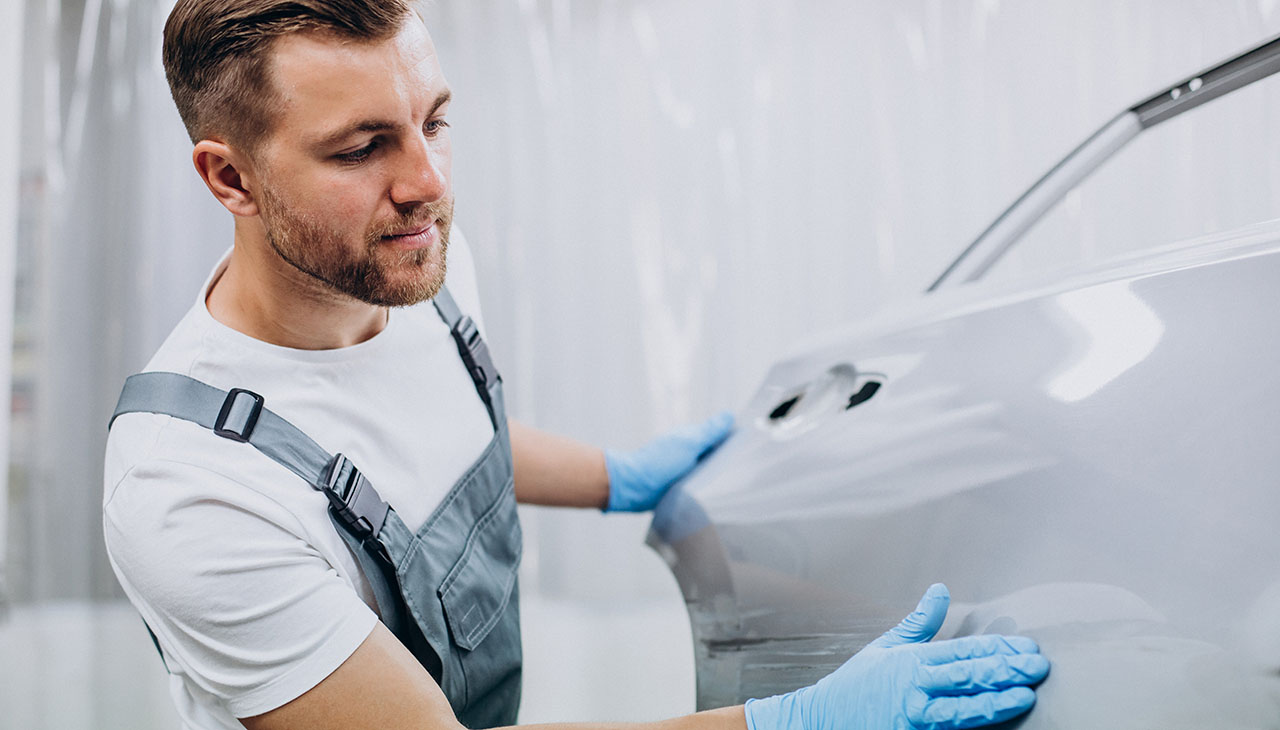
With your vehicle thoroughly assessed and disassembled, you can now begin the process of repair and restoration. Start by repairing or replacing damaged body panels and parts. Depending on the extent of the damage, this may involve patching up small dents, replacing entire sections, or reshaping panels. Pay careful attention to alignment and fit, ensuring that each part fits snugly and seamlessly with its adjoining components.
Address any mechanical issues that were identified during the initial assessment. This could range from relatively straightforward tasks like replacing worn-out brake pads to more complex undertakings such as engine repairs or suspension upgrades. Always prioritize safety, ensuring that essential mechanical elements are in sound working order before moving on to aesthetic enhancements.
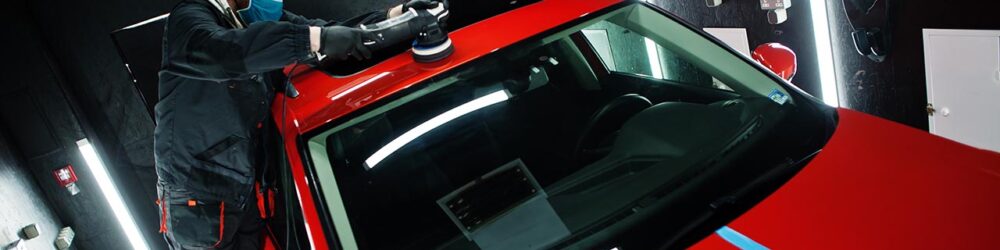
Once the bodywork and mechanical elements are in order, apply the appropriate surface treatments. This usually begins with sanding to remove old paint and surface rust, followed by priming to prepare the surface for paint. The final step is painting, where color and shine are brought back to the auto body. The result should be a vehicle that not only runs like new but looks the part as well.
Reassemble and Test
The final stretch of the restoration journey involves the careful reassembly of the vehicle. Using the photographs and notes taken during disassembly, reconstruct the vehicle meticulously, ensuring each component fits securely and correctly in its place. This step demands accuracy and patience, as rushing may lead to errors, which could compromise the vehicle’s safety and performance.
Once reassembly is complete, conduct thorough quality checks to ensure every component is functioning as it should be. Pay careful attention to the alignment of body panels, the operation of the electrical system, the function of the braking system, and the performance of the engine and suspension. Make any necessary adjustments to ensure the vehicle is safe and operable.
Before declaring the project complete, take the vehicle for a test drive to evaluate its performance. Listen for any unusual noises, feel for any vibrations, and note how the vehicle handles at various speeds and conditions. Use this opportunity to fine-tune any elements of the restoration, whether that’s adjusting the brakes, fine-tuning the suspension, or tweaking the engine. Only when the vehicle drives smoothly and meets your performance expectations, you can consider your restoration project a success.