Welcome to the Ultimate Classic Car Restoration Guide. Certainly, it’s not as intricate as restoring a SC300 Lexus for sale, but it’s still a complex process. This manual is designed to guide you on your journey from a classic car enthusiast to a confident restorer. Whether you’re planning to breathe new life into a timeless beauty that’s been gathering dust in your garage, or you’re a seasoned collector looking to explore more complex restoration projects, this guide is your companion. By providing practical advice, step-by-step processes, and insights from seasoned experts, we aim to make your classic car restoration journey smooth and enjoyable. Let’s begin.
Getting Started
Setting a Budget
Before commencing your restoration project, it’s crucial to establish a budget. Consider all potential costs, such as the purchase price of the car, parts, tools, and professional services if necessary. Bear in mind, restoration can sometimes uncover unforeseen issues, so it’s wise to incorporate a contingency amount into your budget.
Choosing the Right Classic Car
Choosing the right classic car for restoration depends on your personal preferences, budget, and the level of work you’re ready to undertake. Research the make and model, availability of parts, and community support. Remember, popular models may have more readily available parts and a larger support community, making the restoration process easier.
Gathering Necessary Tools and Equipment
A well-equipped workspace is key to a successful restoration. The basic tools include a wrench set, screwdrivers, pliers, and a car jack. Depending on your project’s complexity, you may also require specialist tools such as a torque wrench or a welding machine. Always prioritize safety equipment like gloves, goggles, and a fire extinguisher.
Assessing the Vehicle
Inspecting the Body and Frame
Identifying Rust and Other Damage
Look for rust on the vehicle’s body, paying close attention to the underside, fenders, wheel wells, and door edges. Rust can indicate more serious damage beneath the surface. Also, check for dents, scratches, or other body damage. Remember, repairing body damage can add significant costs and time to your project.
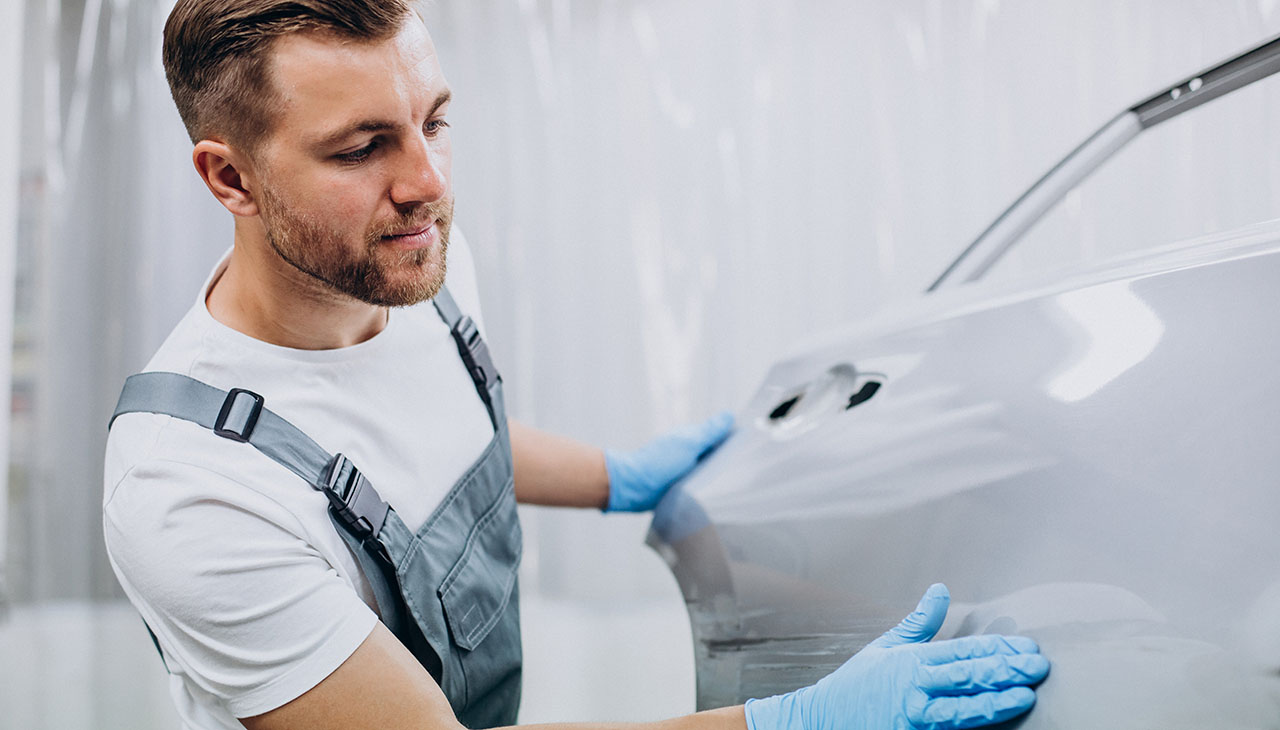
Evaluating the Condition of the Paint
Examine the car’s paintwork carefully. A dull or faded finish might require simple polishing, while cracks, bubbles, or peels might indicate a need for more extensive bodywork and repainting.
Checking the Engine and Mechanical Components
Assessing the Engine’s Performance
A smoothly running engine is crucial for any restored classic. Start the car and listen for any unusual noises. Check for visible signs of wear or leaks. If possible, consider doing a compression test to assess the engine’s internal condition.
Inspecting the Transmission, Suspension, and Brakes
Check the transmission for smooth shifting and the absence of noise or grinding. Inspect the suspension for signs of wear, make sure the car sits level, and that there’s no excessive bouncing when you push down on the bumper. Finally, ensure the brakes are effective and that there’s no sign of leakage from the brake lines.
Planning the Restoration
Creating a Timeline
Formulating a realistic and manageable timeline is crucial to avoid the feeling of being overwhelmed. Prioritize tasks based on the car’s needs and your budget. Remember, restoration is a marathon, not a sprint, and patience is key. Factor in time for research, acquiring parts, and unforeseen repairs.
Setting Restoration Goals
Set clear, achievable goals for your restoration project. These could range from minor aesthetic improvements to a full, concours-level restoration. Be honest about your skills, funds, and the time you can dedicate to the project. Remember, the ultimate goal is to enjoy the process as much as the finished product.
Finding Reputable Suppliers for Replacement Parts
Establishing a relationship with reputable suppliers is an essential step in your restoration journey. Research to find suppliers who specialize in parts for your make and model. Check their reviews and return policies. Join forums and attend car shows to get recommendations from other restorers. Ordering parts can require some lead time, so it’s better to identify these suppliers early on.
Disassembly and Documentation
Removing Exterior and Interior Components
The first stage of disassembly involves removing the exterior components. Start by carefully removing the chrome trim, bumpers, and grills. Then, proceed to remove the headlights, tail lights, and other exterior lighting fixtures. After this, you can detach the doors, hood, and trunk lid.
Once the exterior is stripped, move on to the interior. Begin with the seats, followed by the carpeting and door panels. Carefully remove the dashboard, steering wheel, and any other interior accessories.
Throughout this process, ensure each part is handled with care to prevent damage. Some components may be old and brittle, requiring extra caution during removal.
Documenting the Process with Photographs and Notes
Documenting the disassembly process is crucial for smooth reassembly. As you remove each part, take detailed photographs from multiple angles. These photos will serve as a visual guide when it’s time to put everything back together.
Pair the photographs with comprehensive notes. Record the function of each part, its condition, and its location on the vehicle. Label and organize parts and associated hardware in clearly marked containers. This detailed record-keeping will save time and frustration when reassembling the vehicle.
Restoring the Body
Stripping Old Paint and Rust
First, you’ll need to strip the old paint and rust from the vehicle’s body. This can be a time-consuming process, but it’s essential for a long-lasting, quality finish. You can use hand tools, like a scraper or wire brush, for smaller areas of rust or paint removal. For larger areas, consider using a chemical paint stripper or power tools such as a sandblaster or grinder. Remember to use safety equipment, including gloves, goggles, and a dust mask to protect yourself from harmful dust and chemicals.
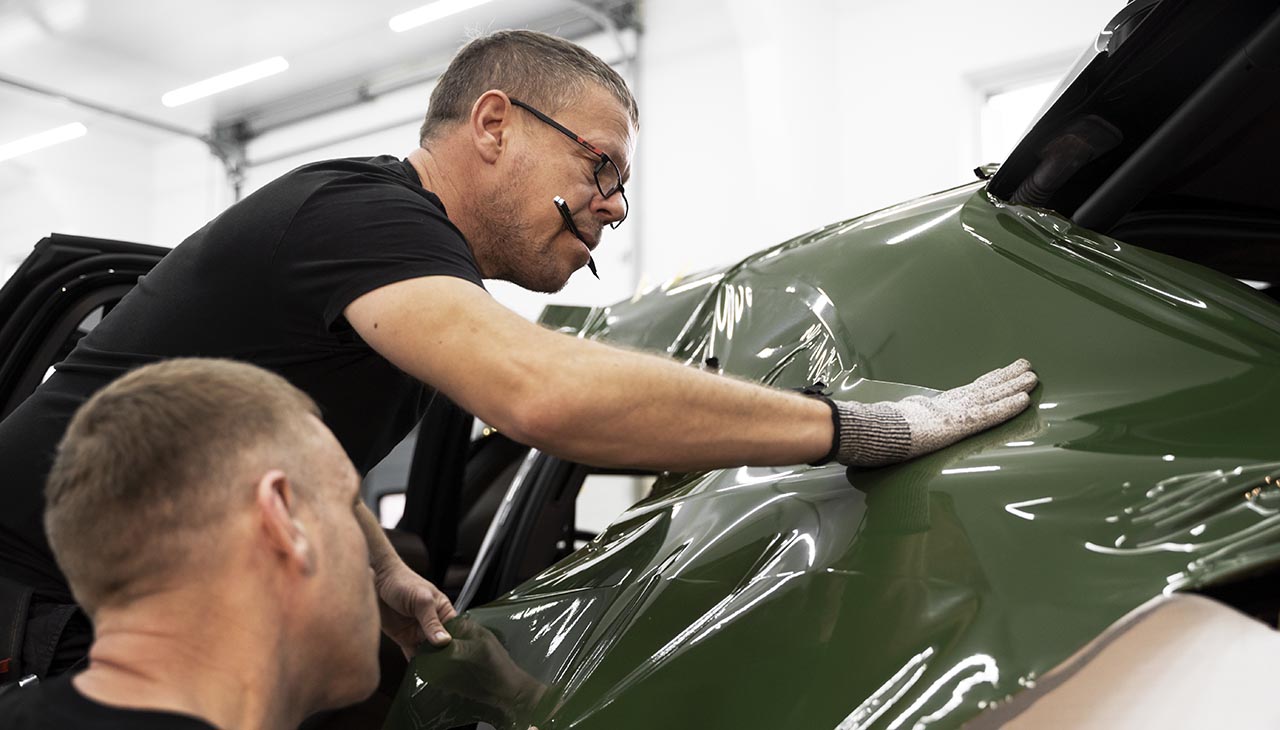
Repairing Dents and Replacing Panels
Once the paint and rust have been removed, move on to repairing dents and replacing damaged panels. Minor dents can often be pushed out or filled using a body filler. However, severe dents and rusted out sections will likely require panel replacement. If you’re not comfortable with this task, consider seeking help from a professional. Make sure the new panels align properly with the existing bodywork for a seamless appearance.
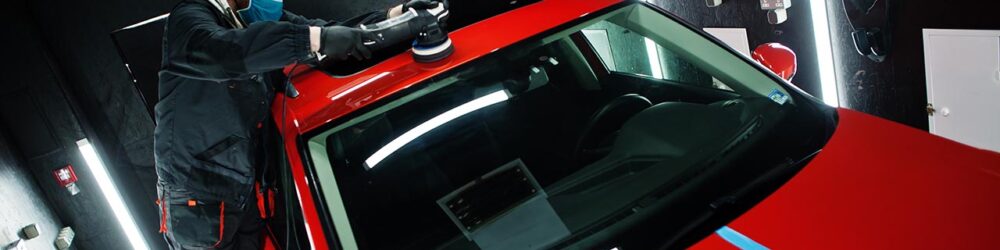
Applying Primer and Paint
After repairing dents and replacing panels, the next step is to apply primer. Primer creates a consistent, clean surface for the paint to adhere to and helps to highlight any remaining flaws in the bodywork. Once the primer is dry and you’re satisfied with the surface, move on to painting. Choose a high-quality automotive paint and apply in several thin layers, allowing each layer to dry before applying the next. Consider using a clear coat for extra protection and a glossy finish. Remember, painting requires patience and precision. If you’re not confident, consider hiring a professional to ensure a flawless finish.
Engine and Mechanical Restoration
Rebuilding the Engine
Engine restoration is a meticulous task that usually involves disassembling, cleaning, inspecting, repairing, replacing parts, and reassembling the engine. Start by removing the engine from the car, then cautiously disassemble it, making sure to keep track of all components. Checking the internal parts for wear and damage is essential. Components like pistons, rods, crankshafts, camshafts, and valves may need to be replaced or machined to restore their performance. Ensure to replace all gaskets and seals during reassembly to prevent future leaks and performance issues.
Cleaning and Repairing the Fuel System
The fuel system, comprising the fuel tank, pump, filter, injectors/carburetor, and fuel lines, play a significant role in the car’s performance. Begin by draining and cleaning the fuel tank, ensuring to remove any rust or sediment. Inspect fuel lines for cracks or rust, replacing as necessary. The fuel pump and injectors or carburetor should be overhauled or replaced as needed, and the fuel filter should be replaced to ensure clean fuel delivery. Always remember that dealing with fuel can be dangerous, so take all necessary precautions, including working in a well-ventilated area and away from open flames or sparks.
Overhauling the Electrical System
Overhauling the electrical system involves inspecting and replacing or repairing all electrical components, including the battery, alternator, starter motor, and all wiring. Check the wiring for any signs of fraying, corrosion, or damage, and replace any compromised sections. The battery should be tested and replaced if its capacity is low. The alternator, which charges the battery and powers the electrical system, should be checked for correct operation, as should the starter motor. All electrical connections should be cleaned and tightened, and all fuses should be checked and replaced as necessary to prevent electrical faults.