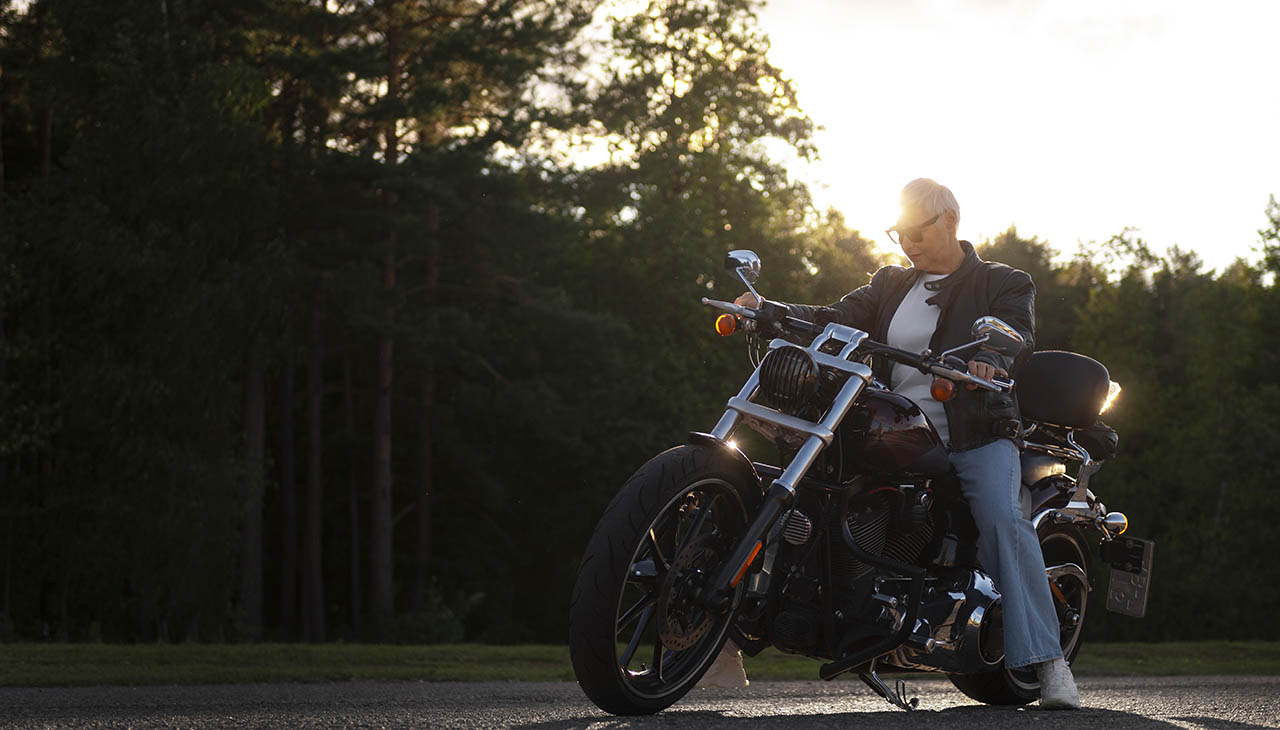
Restoring an old motorcycle can be a rewarding endeavor, a thrilling journey that combines mechanical skill, patience, and a deep appreciation for classic engineering. It’s about reviving a piece of history, a motoring heritage that exudes character and charm unmatched by modern counterparts. This guide provides practical tips to guide you through the restoration process of a classic motorcycle, helping you transform an aged machine into a gleaming beacon of yesteryears’ glory.
Planning and Preparation
Setting a Restoration Budget
The first step in your restoration journey is to set a budget. Restoring a classic motorcycle can quickly become an expensive endeavor, so it’s important to determine what you’re willing to spend upfront. Consider the cost of parts, tools, paint, and any professional services such as engine rebuilding or chrome plating that may be required.
Gathering Necessary Tools and Equipment
Restoring an old motorcycle is a hands-on project that requires a set of specific tools. These may include a good quality socket set, wrenches, screwdrivers, pliers, a motorcycle jack, and an engine hoist. Depending on the condition of your motorcycle, you may also need specialized cleaning supplies or equipment for tasks like rust removal or chrome restoration. Take time to research what you might need before diving into the project.
Creating a Restoration Timeline and Prioritizing Tasks
Finally, create a project timeline to keep your restoration organized and on track. This would involve listing all the tasks to be done, and prioritizing them based on complexity, importance, and dependency. The timeline should be realistic and accommodate potential setbacks. Remember, the goal is to enjoy the process of restoration, not just the final result.
Assessing the Motorcycle
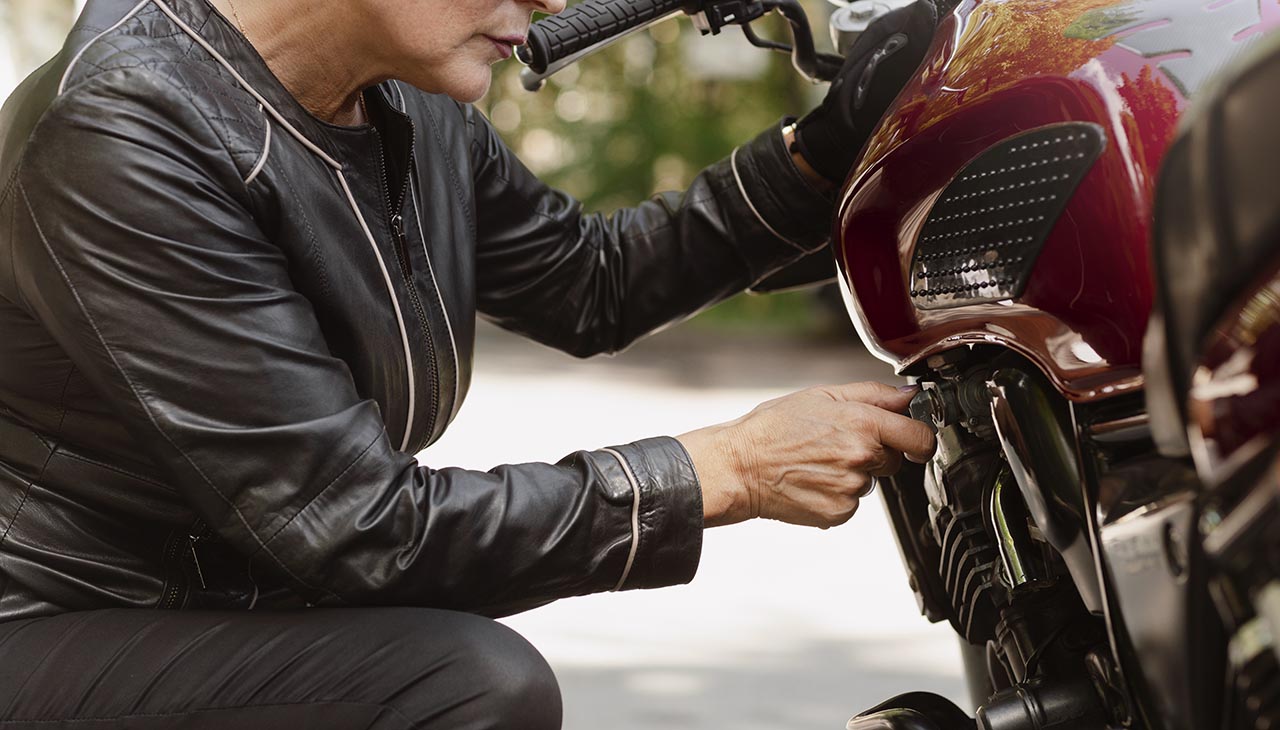
Thoroughly Inspect the Motorcycle’s Condition
Begin your restoration process by performing a comprehensive inspection of the motorcycle. Look for signs of wear and tear, corrosion, or damage that could impact its performance or safety. Test different parts for functionality – the engine, brakes, suspension, and lighting system. Pay special attention to the condition of the tires, chains, and sprockets, as these are often areas where wear is most evident. Also, check for any leaks, especially in the engine or fuel system.
Identify Areas that Need Repair or Replacement
Once you’ve assessed the motorcycle’s overall condition, pinpoint the areas that require immediate attention. These could include broken or worn-out parts, rusted or corroded surfaces, or mechanical issues like engine problems or brake system failures. It’s essential to make a list of these areas, as it will serve as your roadmap during the restoration process.
Take Detailed Photographs for Reference
Photographs are an invaluable tool during a restoration project. They provide a visual reference of the motorcycle’s original state, which can be extremely helpful when reassembling parts or comparing the before and after states. Capture detailed images of the entire motorcycle, as well as close-up shots of specific areas and parts that need repair or replacement. Remember to keep these images organized and readily accessible throughout your restoration journey.
Disassembly
Carefully Remove All Parts and Components
The actual disassembly of your classic motorcycle begins now. Ensure you have a clean, organized workspace and the necessary tools on hand. Start by disconnecting the battery, removing the seat, and then proceed to take off the larger parts like the fuel tank, fenders, and exhaust system. Be meticulous and gentle, taking care not to force or damage any parts during the process.
Label and Organize Each Part for Easy Reassembly
As you disassemble the motorcycle, it’s crucial to keep track of each part and its corresponding fasteners. Use labels and containers to organize parts and screws according to where they belong on the motorcycle. This step will significantly ease the reassembly process, ensuring that no parts are misplaced or forgotten.
Clean and Restore Smaller Components Separately
With the motorcycle now disassembled, you can focus on cleaning and restoring the individual components. This process will vary depending on the part; for instance, metal parts may require rust removal and polishing, while rubber parts might need to be replaced entirely. Remember, restoration is about attention to detail, so take your time to ensure each component is returned to its former glory before reassembly.
Cleaning and Surface Preparation
Remove Rust, Dirt, and Grime
Begin the surface preparation by thoroughly cleaning the motorcycle frame and bodywork. Use a wire brush or sandpaper to scrub off any rust, dirt, and grime accumulated over time. For stubborn rust patches, consider using a commercial rust remover. Remember to clean in all the nooks and crannies, leaving no area untouched.
Sand and Smooth Rough Surfaces
Once the frame and bodywork are clean, proceed to sand any rough surfaces. Use coarse-grit sandpaper for surface leveling, gradually moving to finer grits for smoothing. This process not only prepares the surface for priming but also ensures a uniform, smooth finish once painted.
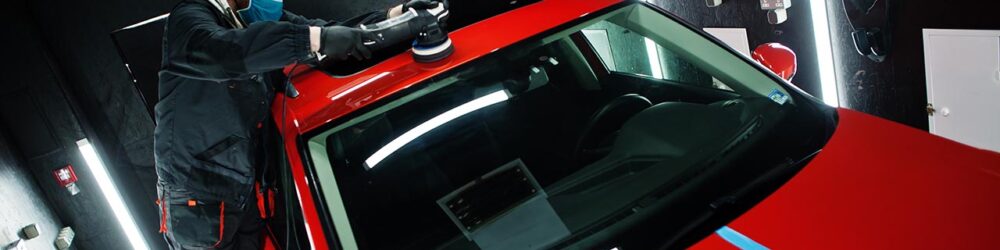
Prime and Paint the Frame and Bodywork
After sanding, clean the frame and bodywork using a damp cloth to remove any dust or debris. Apply a coat of quality primer, which will help the paint adhere better and last longer. Allow the primer to dry thoroughly as per the manufacturer’s instructions. Finally, apply the paint in several thin layers, allowing each layer to dry before applying the next. The choice of color is up to you; you can either preserve the motorcycle’s original color or give it a new look with a different hue. Remember to finish with a clear topcoat for extra protection and shine.
Repairing and Replacing Parts
Repair or Replace Damaged or Worn-Out Parts
When dealing with an old motorcycle, some parts may be beyond repair and will need to be replaced. Identify these parts and source quality replacements, ensuring they are compatible with your model of motorcycle. For other parts, it may be possible to repair them instead of replacing them. This could involve processes like rewiring, lubricating, or refinishing.
Ensure Compatibility and Quality of Replacement Parts
As you acquire replacement parts, it’s crucial to ensure that they are fully compatible with your motorcycle. Incorrect parts can lead to performance issues or even damage your bike. Always verify the model and year of your motorcycle when purchasing parts. Additionally, strive to use high-quality parts. While they may be more expensive, they will typically last longer and perform better, saving you time and money in the long run.
Consider Upgrading Certain Components for Improved Performance
During the restoration process, you might want to consider upgrading certain components for better performance. For instance, modern carburetors can provide improved fuel efficiency and power, while upgraded brakes or suspension systems can provide better handling and safety. However, keep in mind that major upgrades can change the character of the motorcycle, so choose wisely to maintain the balance between maintaining originality and improving performance.